Hey Learners! Welcome back. Till now we have learned how to create a docker-compose.yml file and pushed it to the remote repository. Let's move forward and dig more into other important concepts of docker-volume, docker-networking, etc. Let's get started.
Docker-Volume:-
Volumes are like separate storage areas that can be accessed by containers. Docker allows us to create volumes. With the help of Volumes, we store data, like a database outside the container so that we can persist our container data so that in case of any failure occurs or the container gets restarted container data should not be lost.
There are two ways of storing files in the docker
Volumes that are part of the host filesystem and managed by Docker. It can be attached to multiple containers.
Bind Mounts which can be stored anywhere in the host system. The files and directories that we are mounting get created if not present on the host machine at the run time.
Commands:-
Creating docker volume:- To create a docker volume use
docker volume create <vol-name>command.Use volumes in containers:- To attach volumes use one of the following commands
docker run -d --name <cont-name> -v <vol-name>:<cont-data-path> <image>docker run -d --name <cont-name> -v <host-dir>:<cont-data-path> <image>docker run -d --name <cont-name> --mount source=<host-dir>,target=<cont-data-path> <image>-v combines all the options in one field, while the --mount syntax separates them
Inspecting volumes:- to see details about a volume use
docker inspect <vol-name>command.List all volumes:-
docker volume lsRemove named volume:-
docker volume rm <vol-name>Remove all unused volumes:-
docker volume prune
Docker Networking:-
Docker allows you to create virtual spaces called networks, where you can connect multiple containers(small packages that hold all the necessary files for a specific application to run). This way, the containers can communicate with each other and with the host machine(the computer on which docker is installed). Docker's default network is bridge and it is created with the name docker0.
Types of Network Drivers:-
Bridge:- This is a default network driver. This network is commonly used when your application runs in a container that needs to communicate with other containers on the same machine(host). This network creates an isolated network for the containers from the host.
Host:- Directly shares the host network with docker. No isolation between the host and the container.
Overlay:- Connects multiple docker containers to communicate across the nodes.
None:- Completely isolate a container from the host and other containers. This network is not available for swarm services.
Macvlan:- allows us to assign a MAC address to a container, making it appear as a physical device on our network. The Docker-Daemon routes the traffic to containers by their MAC addresses.
IPvlan:- This network gives users total control over IPv4 and IPv6 addressing. The VLAN driver builds on top of that giving operators complete control of layer 2 VLAN tagging and even IPvlan L3 routing for users interested in underlay network integration.
Task 1-
Create a multi-container docker-compose file that will bring UP and DOWN containers in a single shot ( Example - Create application and database container )
As we already learn about docker-compose in task 1 of the Day18 challenge, in this blog we'll look at how to increase or decrease the number of replicas for a specific service.
Note:- We can add replicas parameter in the deployment file(.yml) for auto-scaling.
Add replicas parameter as shown.
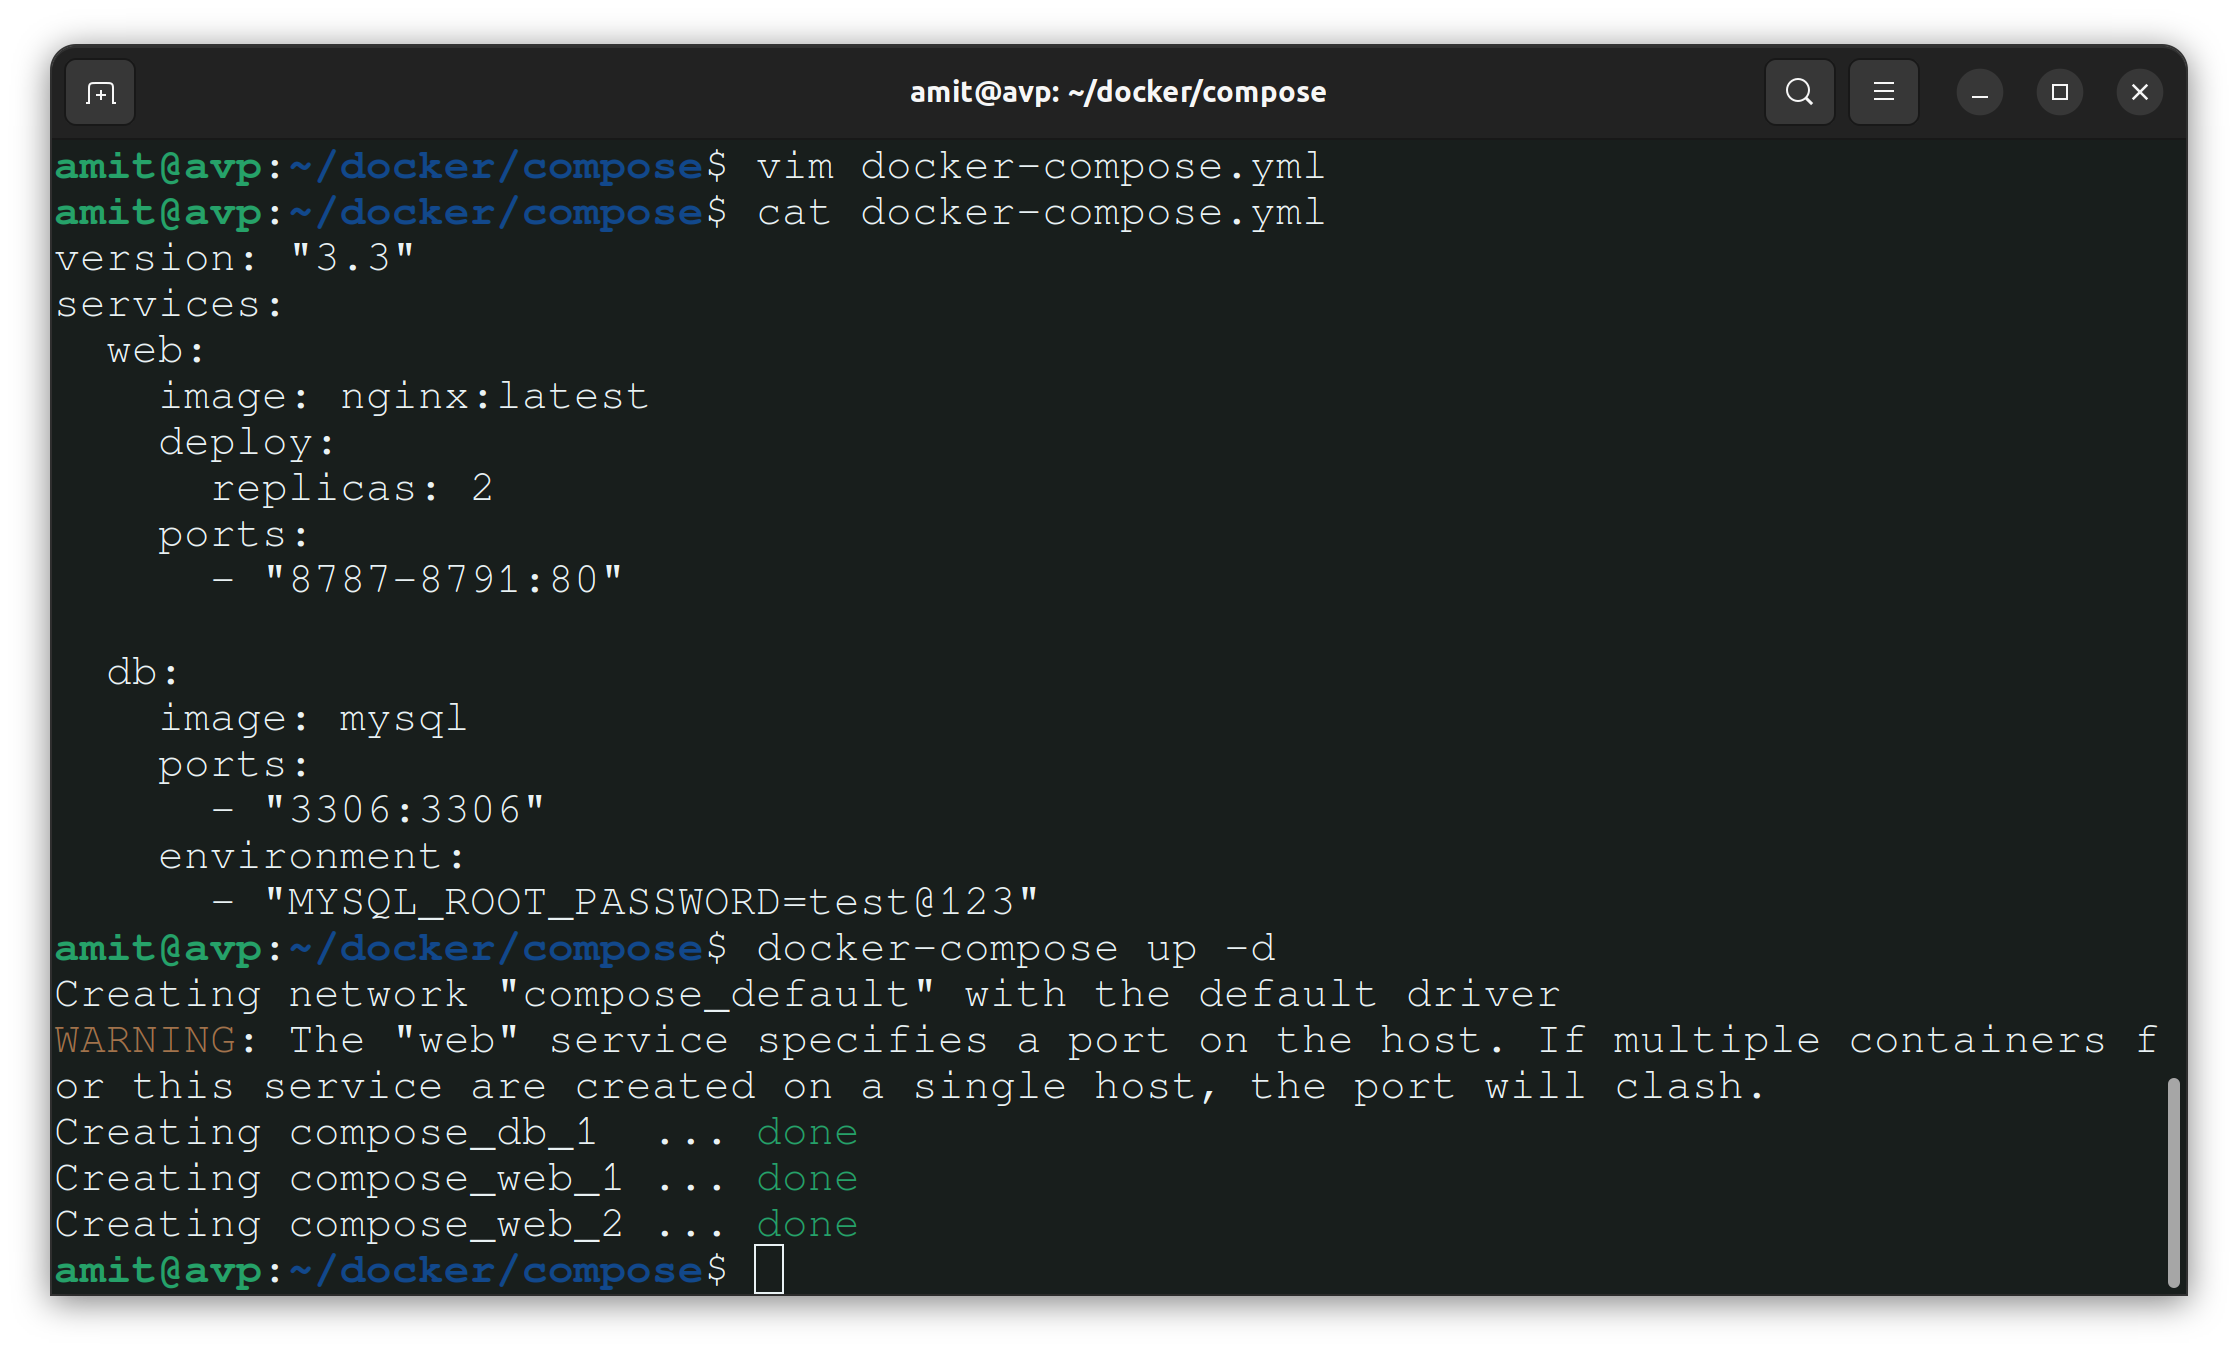
Note:- Web service has two containers as we specified replicas as 2. Also, ports are given in the range from 8787 to 8791 as we need to scale further.
Example:- To increase the number of containers of Web service use docker-compose up -d --scale web=4
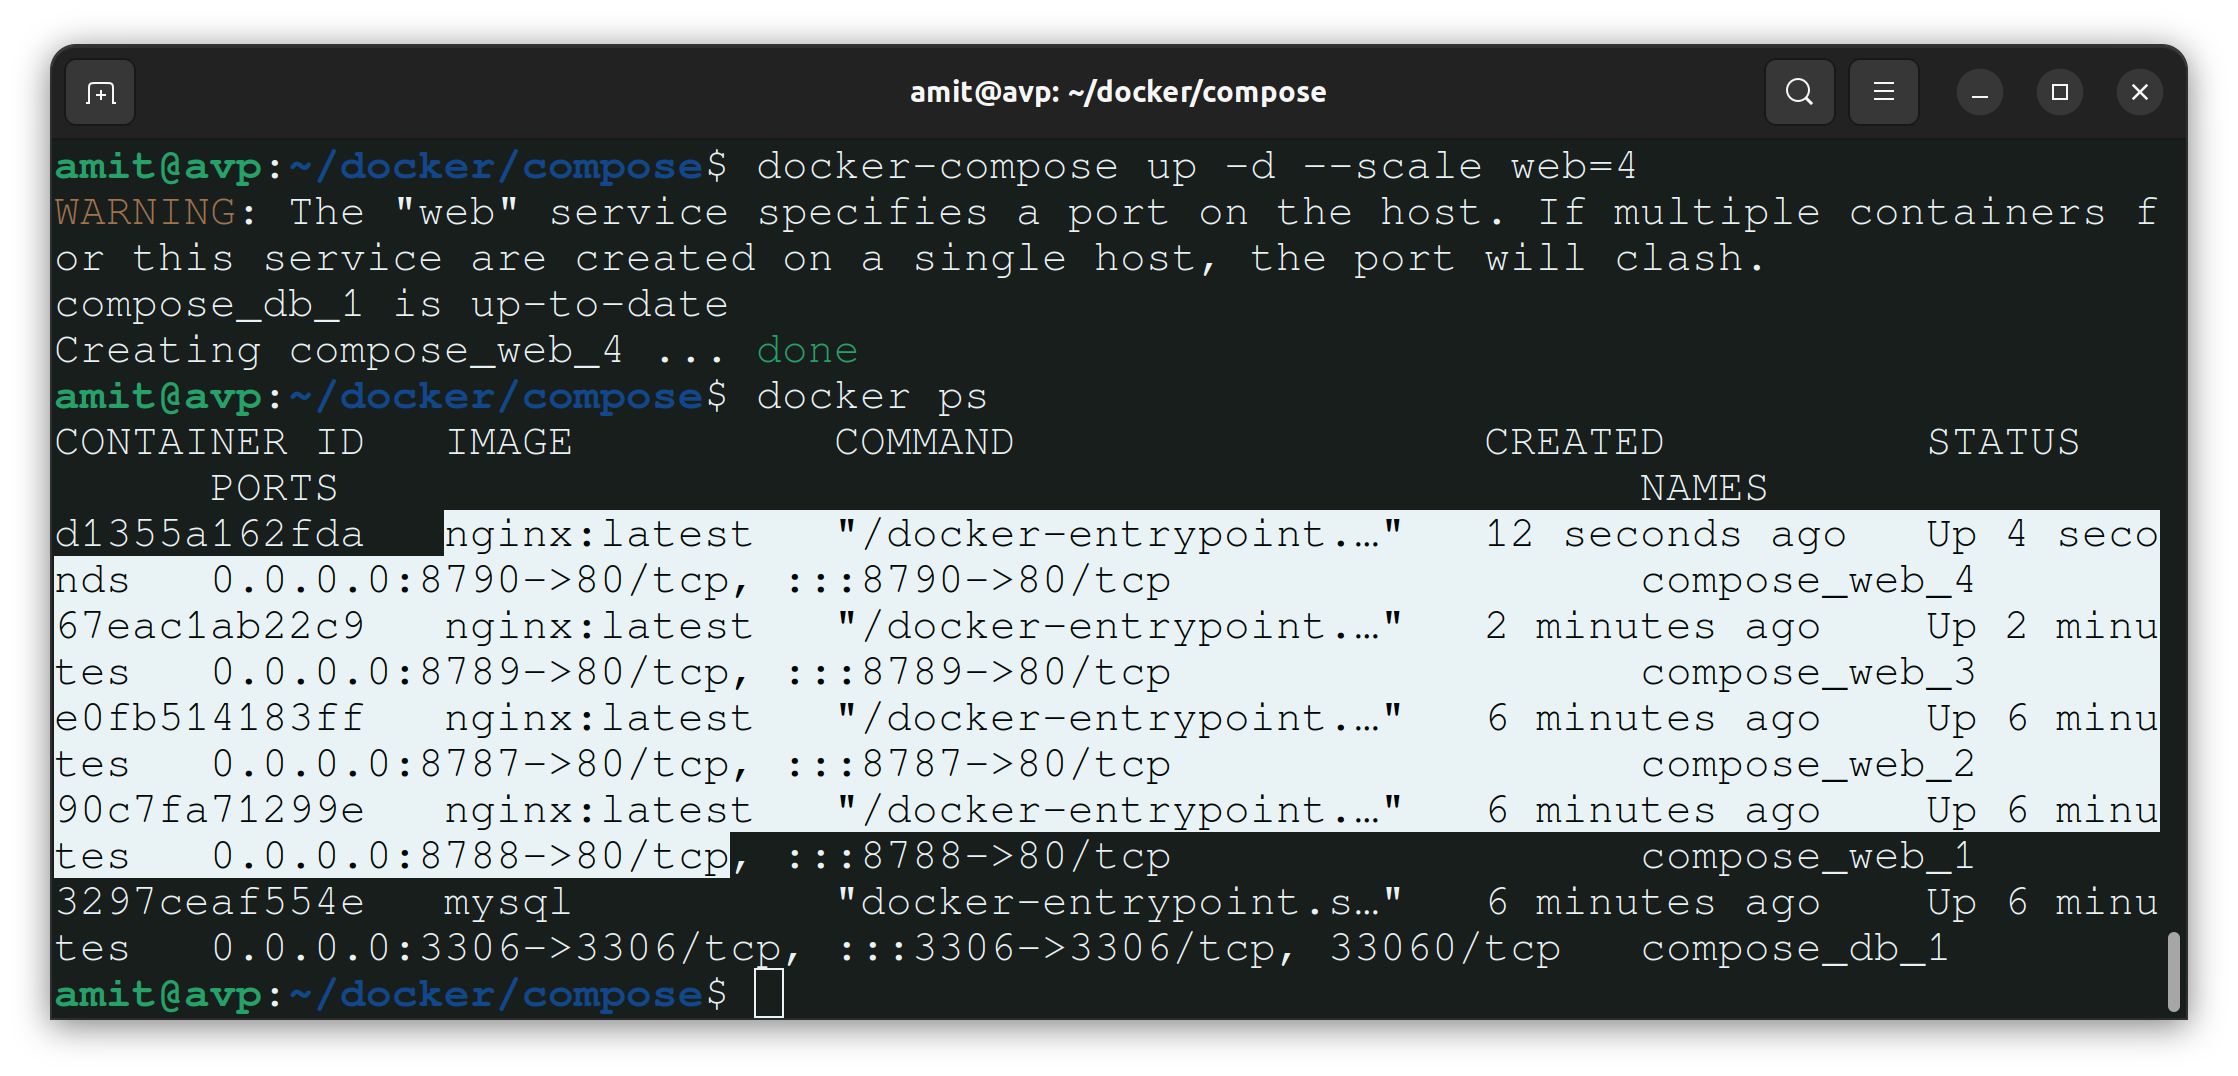
This adds two more containers running web service.
Example:- To decrease the number of containers of web service use docker-compose up -d --scale web=1 command.
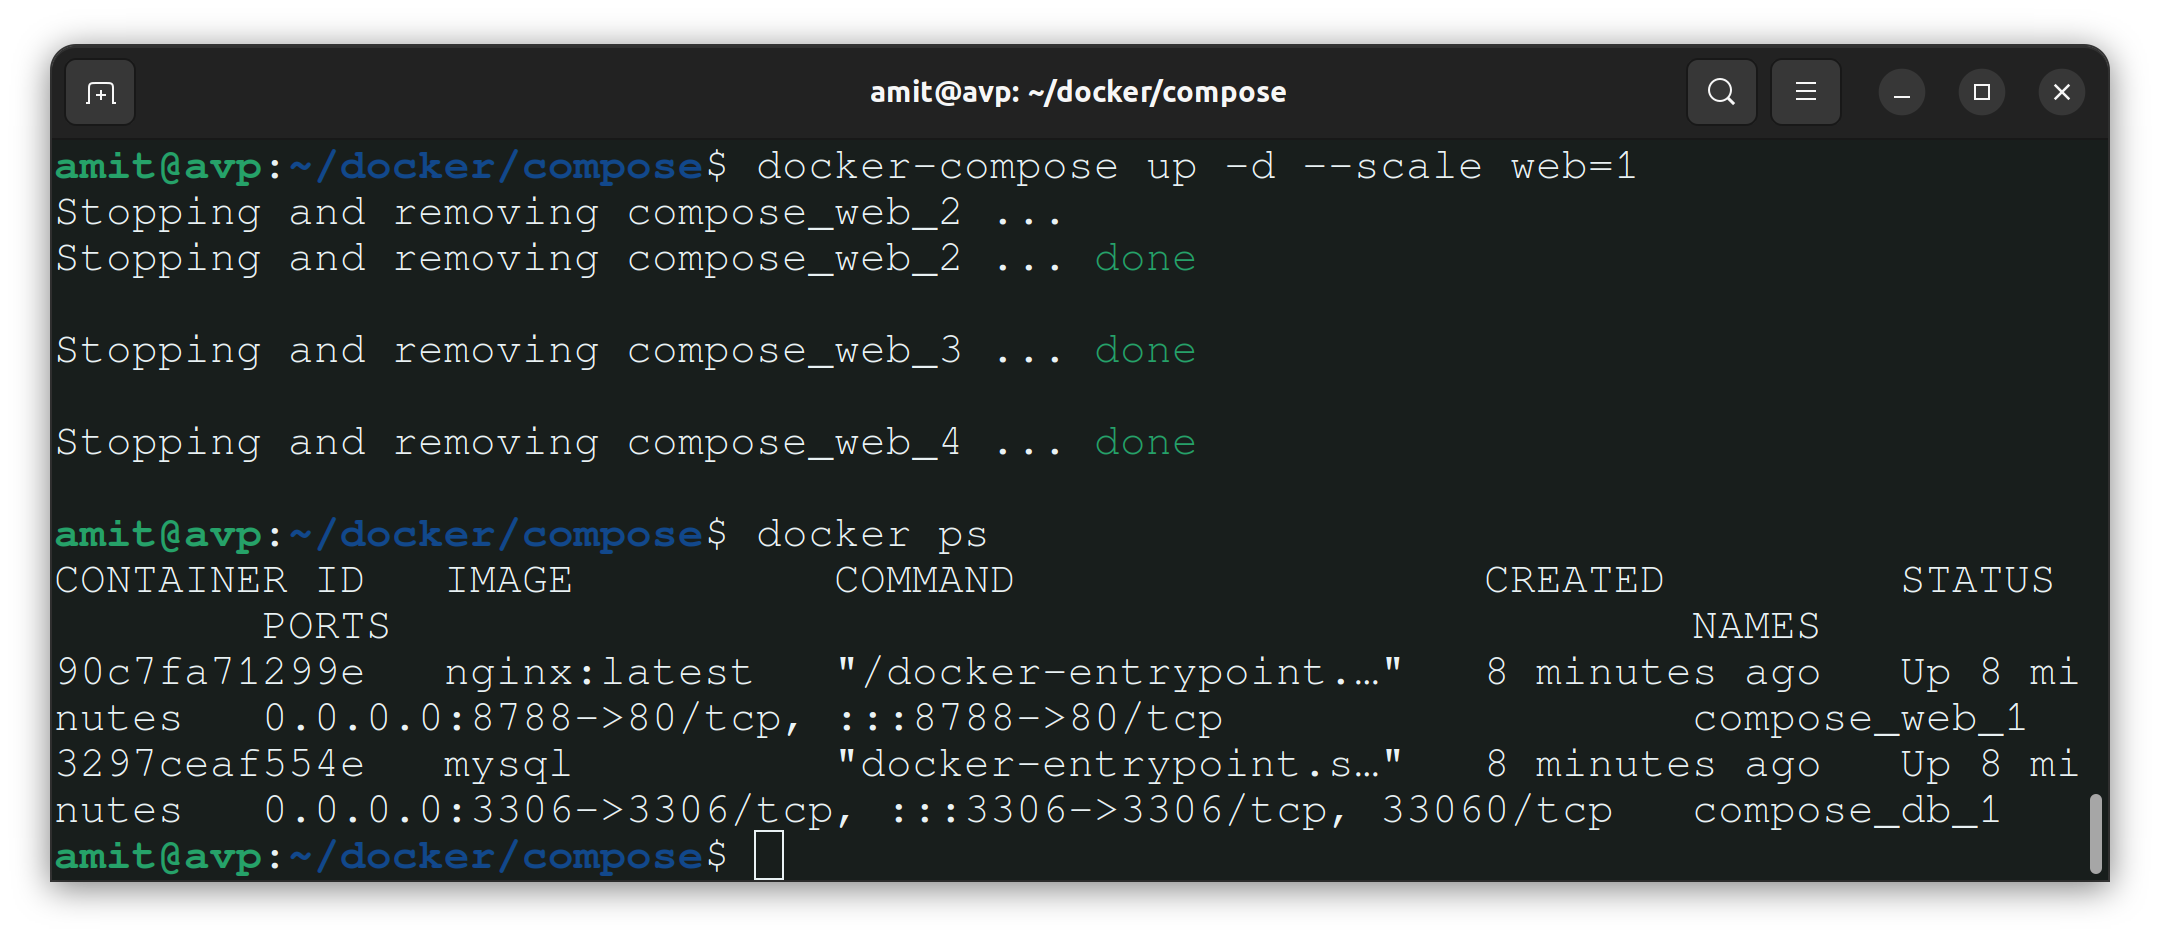
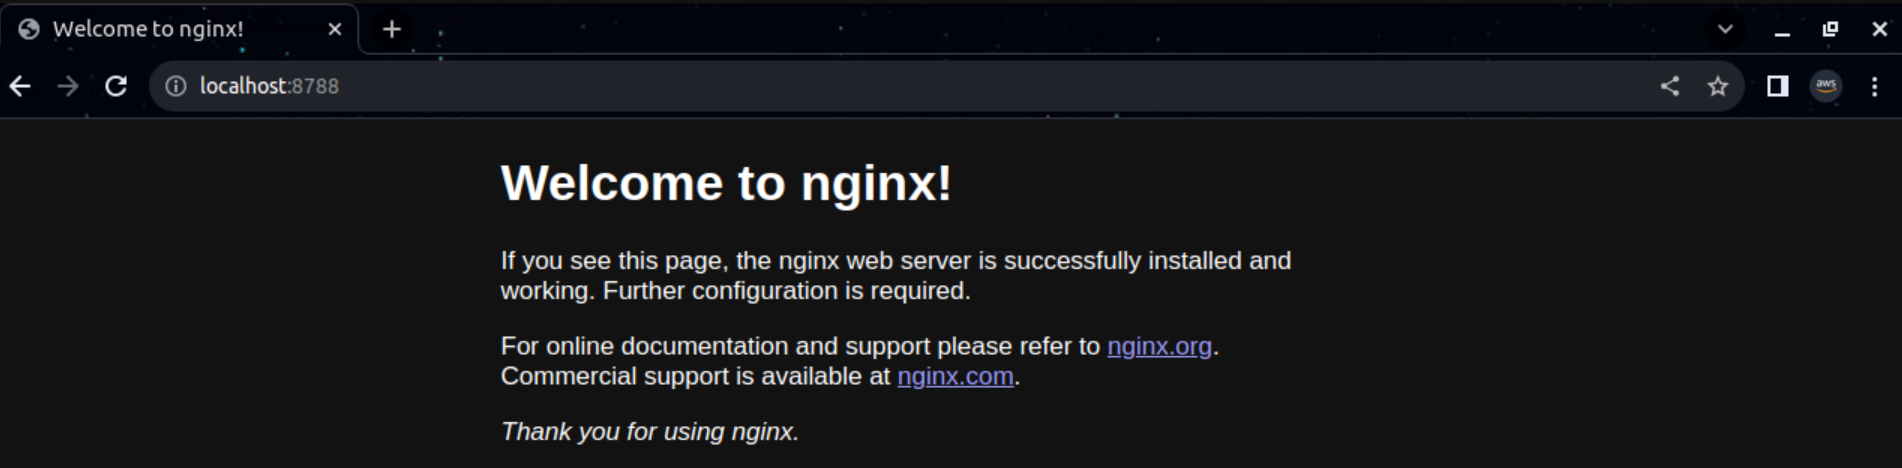
As the web service is running, we can access our website on port 8788(ref above screenshot).
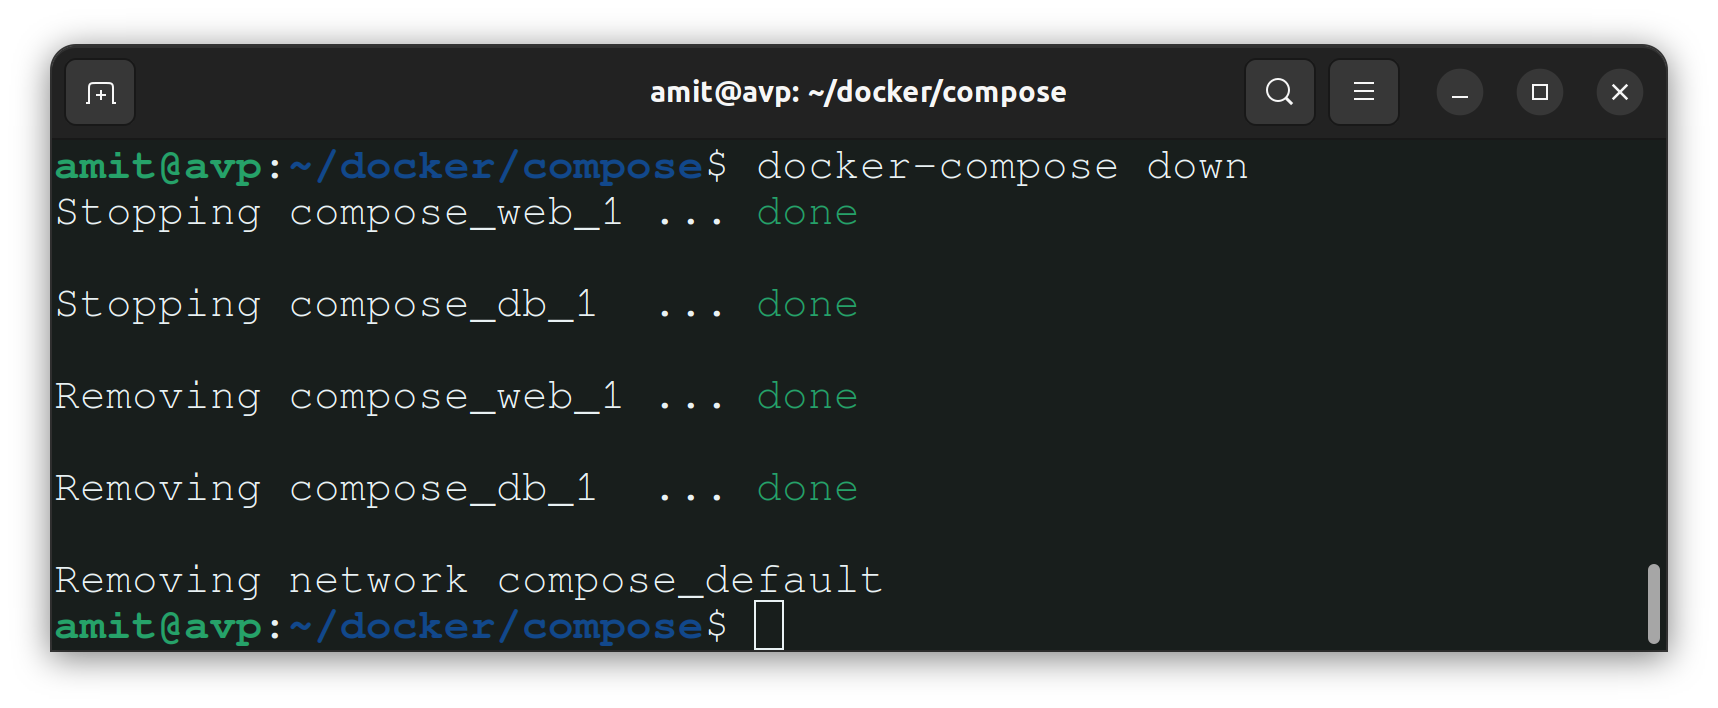
You can use the docker-compose down command to stop and remove all the containers, networks and volumes associated with the application.
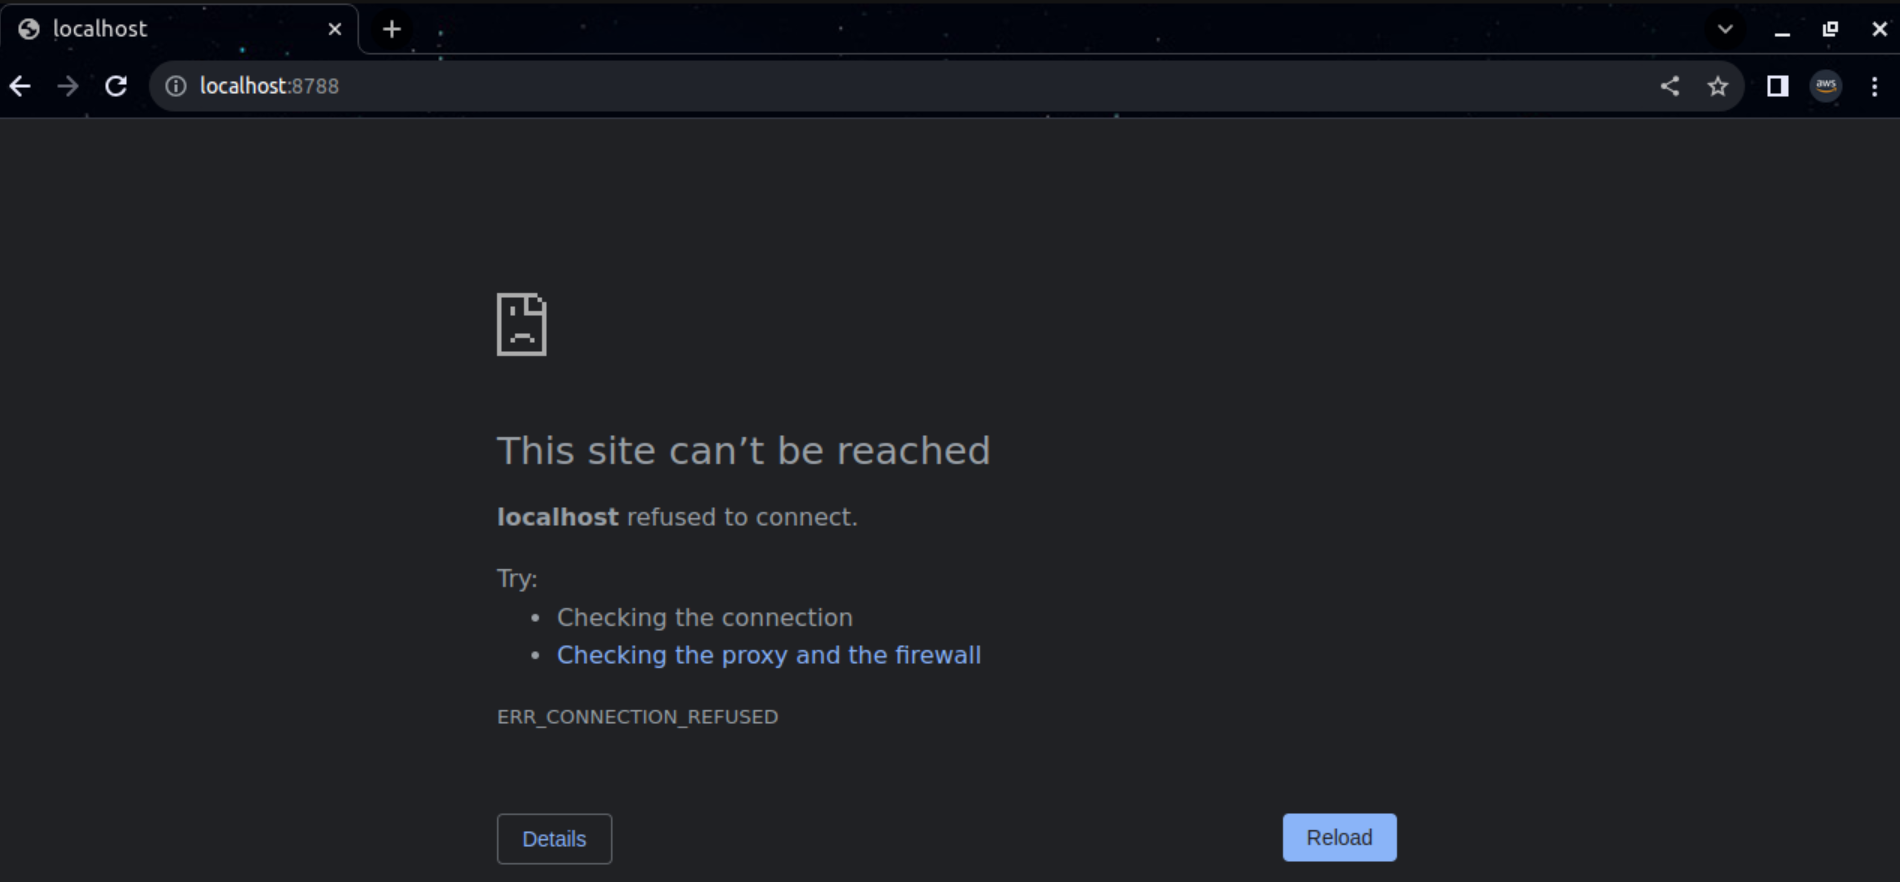
Now you are not able to access the website as it is stopped and removed.
Task 2-
Learn how to use Docker Volumes and Named Volumes to share files and directories between multiple containers.
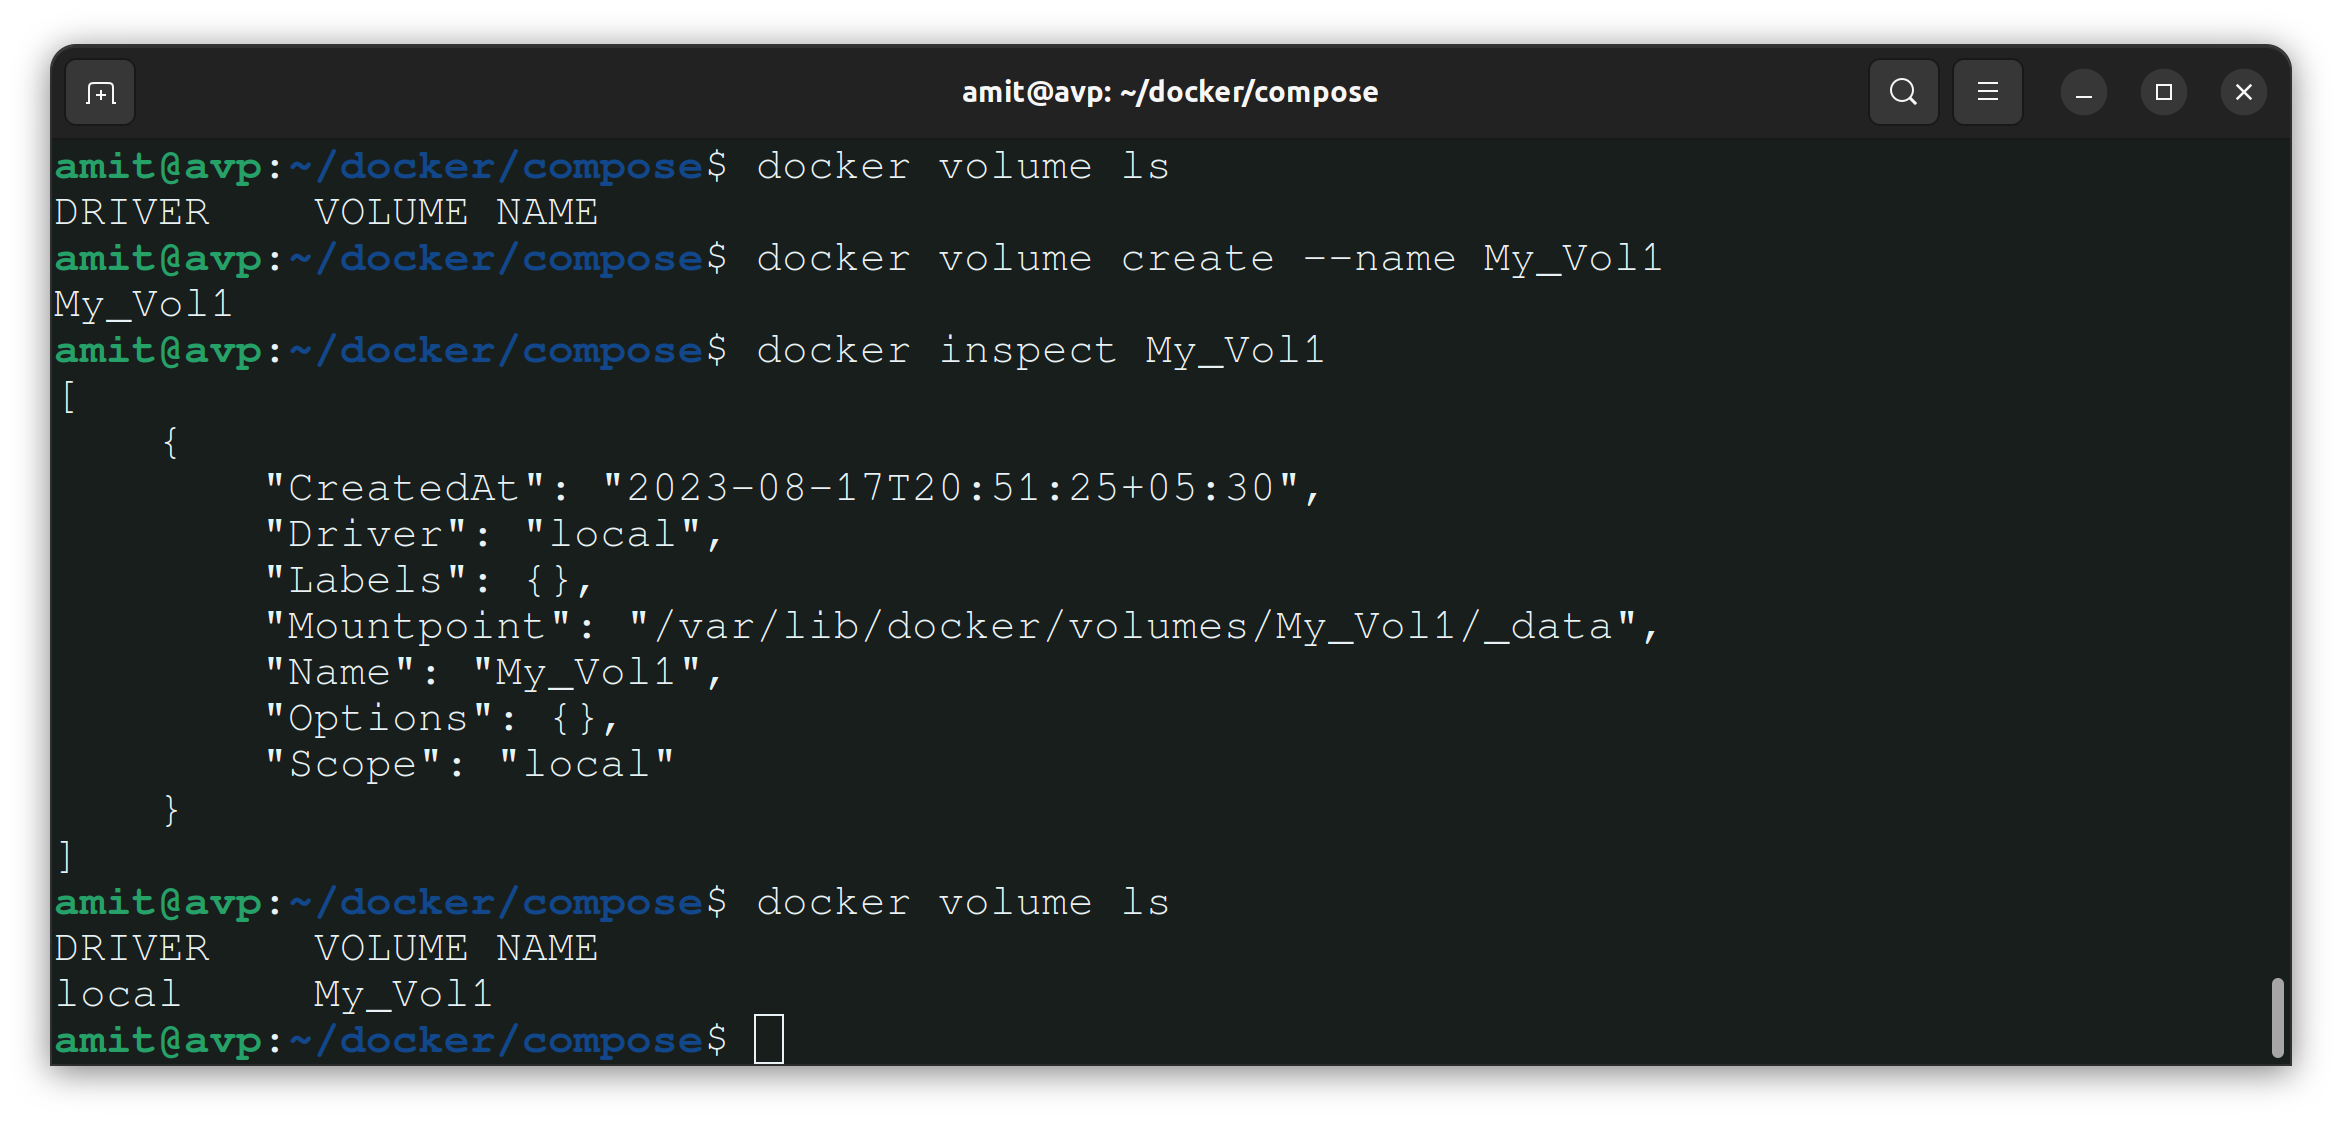
Let's create a local volume named My_Vol1 using the docker volume create --name My_Vol1 command and inspect the same volume using docker inspect My_Vol1 command.
Now we'll run two new containers of nginx with the same volume attached. Use docker run -d --name cont1 -p 8181:80 -v My_Vol1:/var/www/html nginx to run the container.
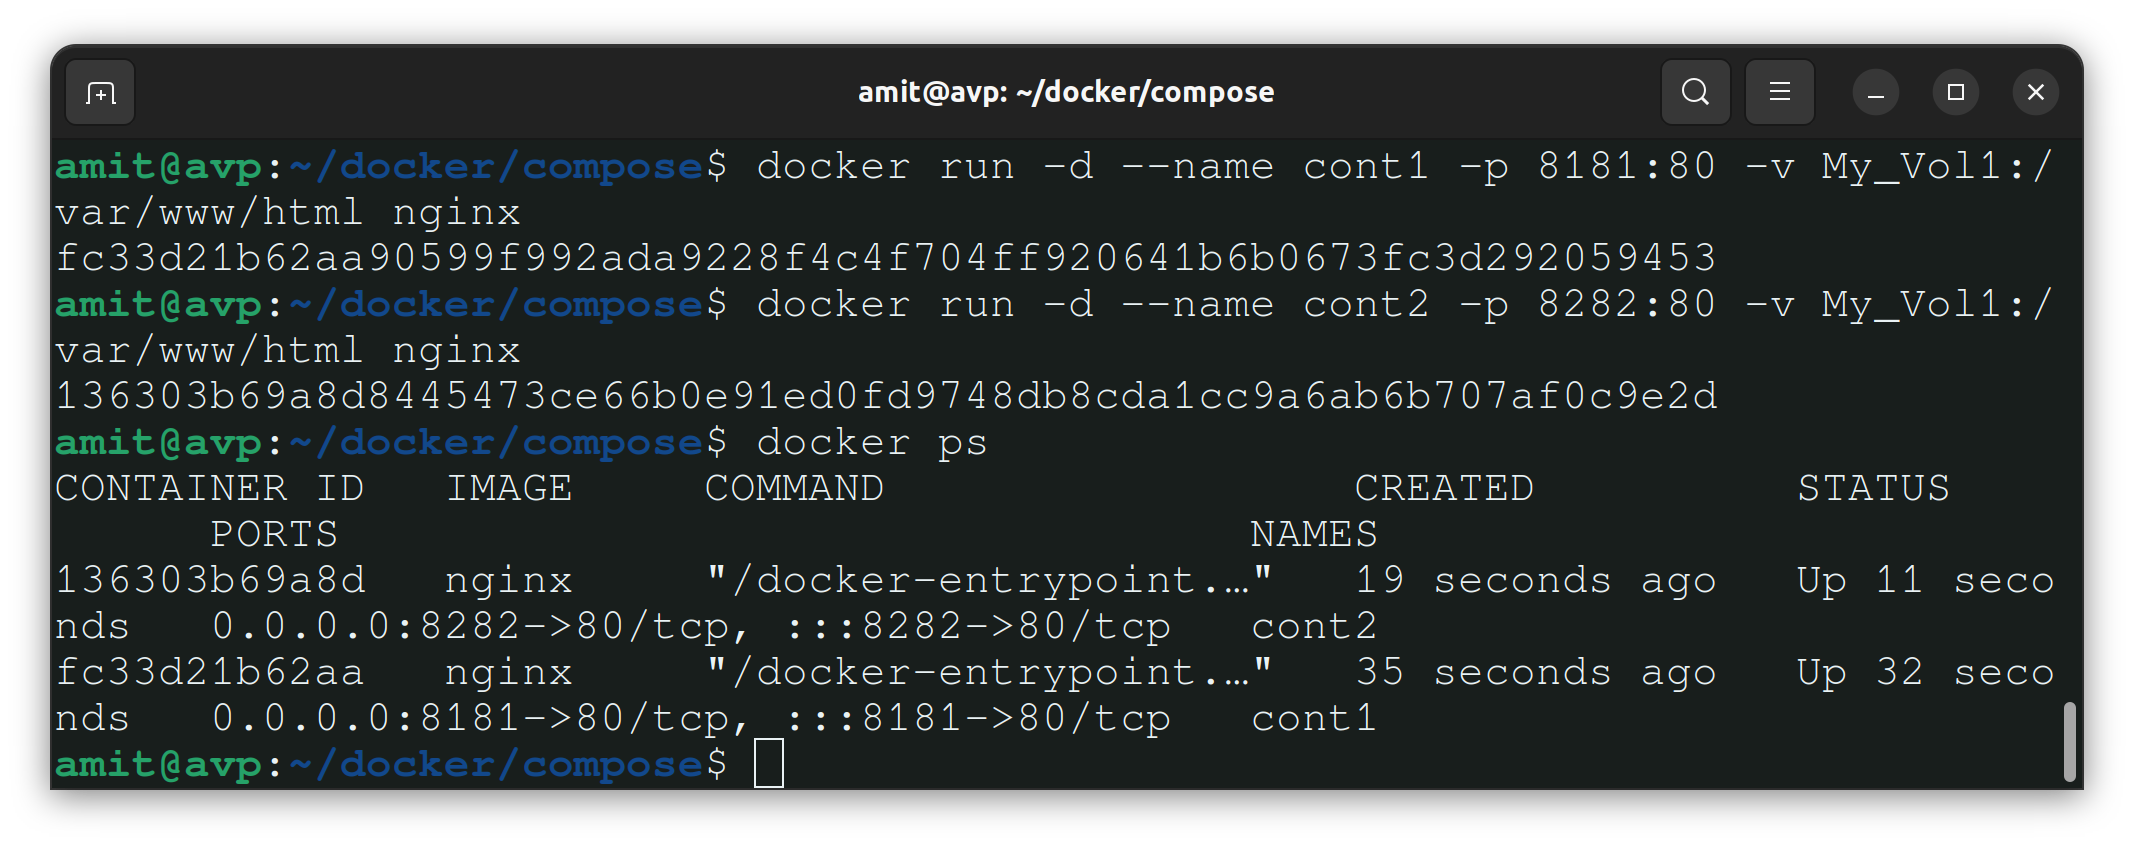
Now we can create one index.html file in the /var/www/html/ directory of cont1 and see whether it is present in cont2 or not.
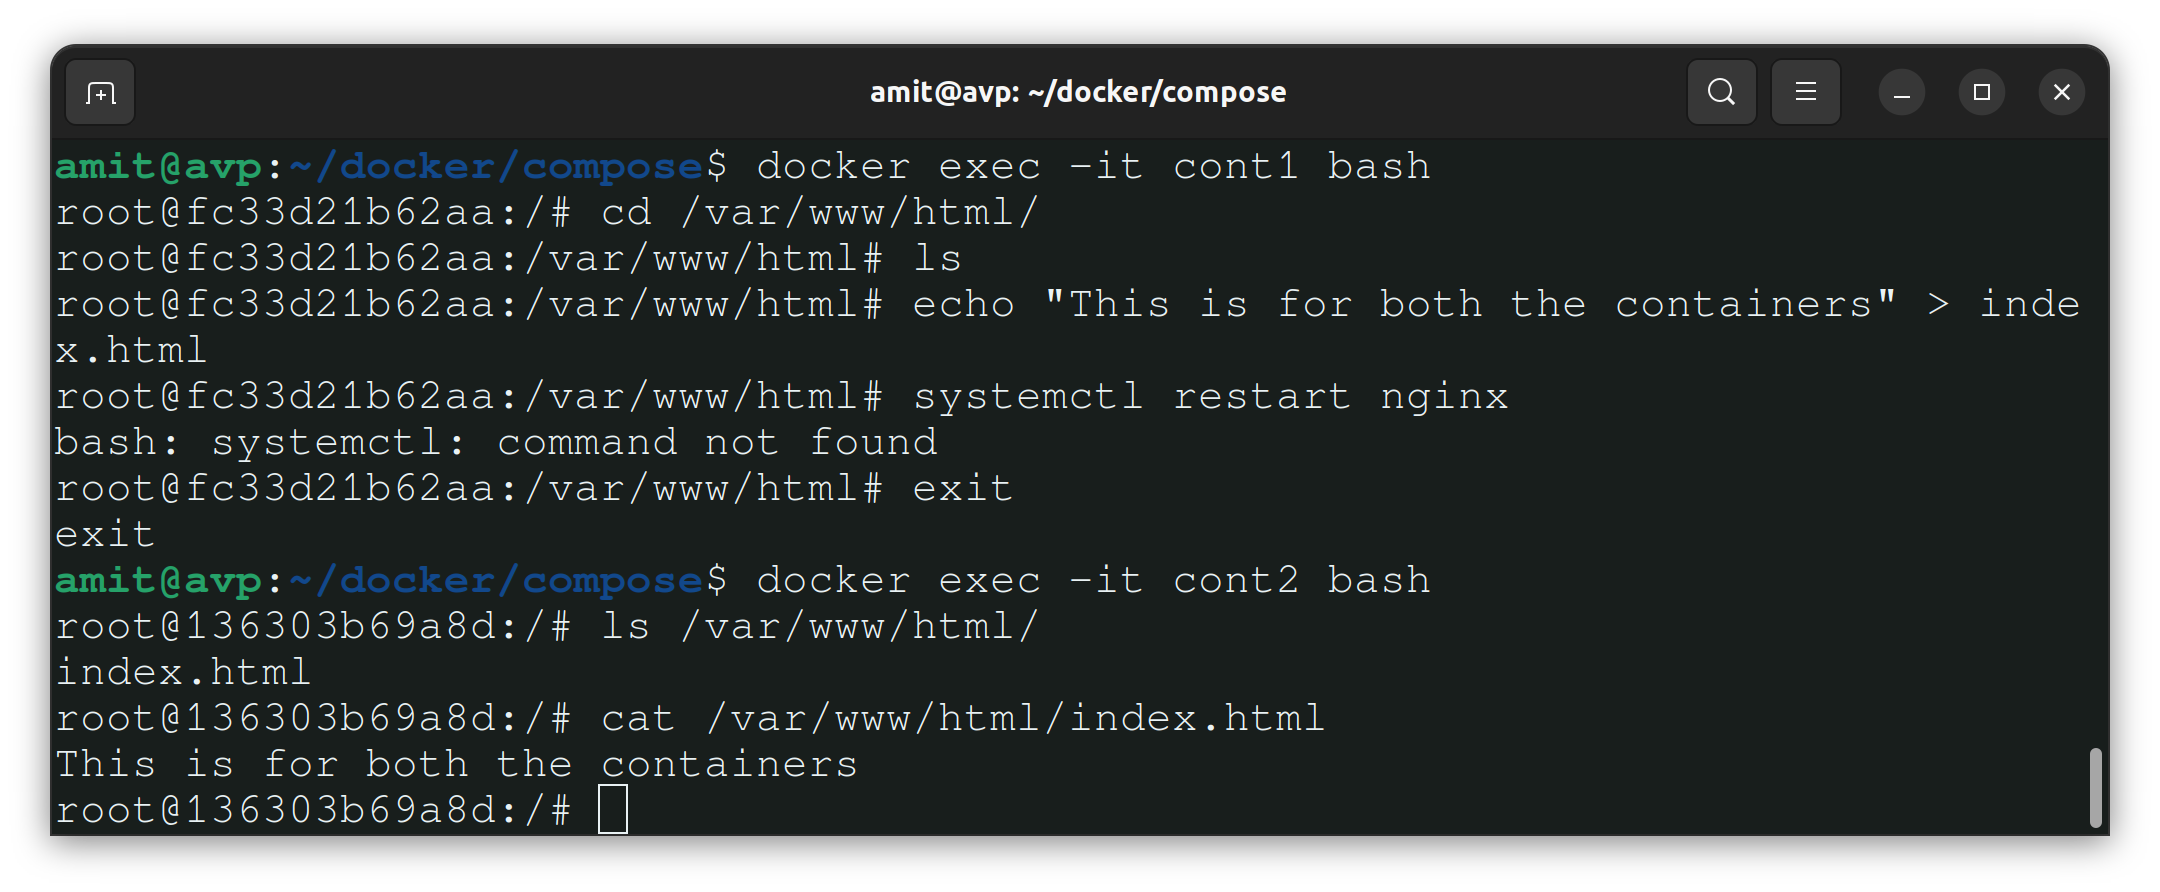
This confirmed that created volume is shared data between two containers and the file created in the cont1 is also accessible to cont2.
To remove the volume first stop all the containers attached to that volume and then remove the volume. I kill the containers as they are no need longer.
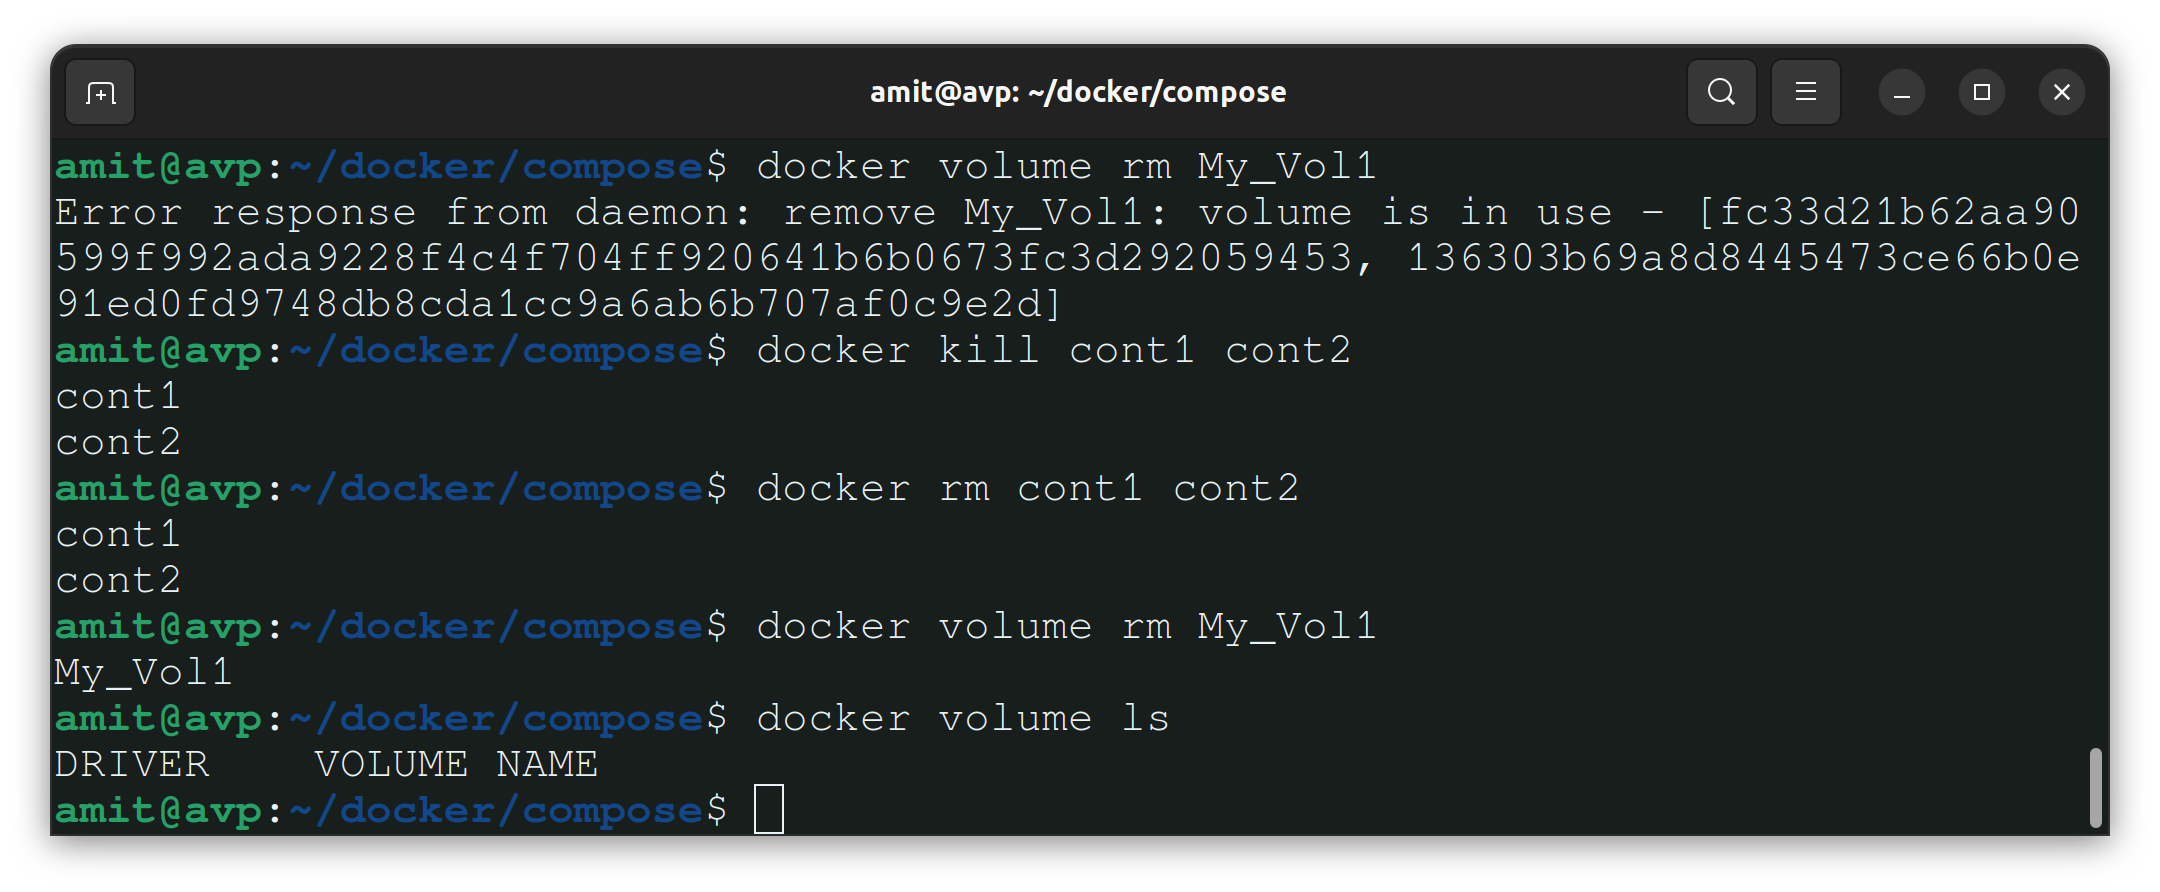
This is how we use docker volumes.
Thank you so much for taking the time to read till the end! Hope you found this blog informative.
Feel free to explore more of my content, and don't hesitate to reach out if need any assistance from me or in case of you have any questions.
Find me on:- Hashnode LinkedIn Github
Happy Learning!


