Hey Learners! Welcome back. This is the prerequisite for Fifth project of 90DaysOfDevOps challenge. In this blog, we will create Kubernetes cluster on AWS using Kubeadm. Let's create the Kubernetes cluster....
Prerequisites:-
AWS Account
SSH Key Pair
2 EC2 Instances. One for Master and other for Worker
Security Group: - Set up inbound rules to allow SSH and Kubernetes communication Refer:- https://kubernetes.io/docs/reference/networking/ports-and-protocols/
Steps:-
We have to set up 2 instances for Mater and Worker node.

Set Up Master Node:-
Launch EC2 instance with Ubuntu 22.04 LTS AMI and t2.medium as a instance type. Access the Instance via SSH.
Update the package. Install Docker and start and enable the Docker service
 sudo apt-get update && sudo apt install docker.io -y
 sudo systemctl enable --now docker
 sudo systemctl start docker
Set appropriate permissions for User to use Docker. Restart the Docker.
 sudo usermod -aG docker ubuntu
 sudo chmod 777 /var/run/docker.sock
 sudo systemctl restart docker
Import the Kubernetes repository signing key and Add the Kubernetes repository
 curl -s https://packages.cloud.google.com/apt/doc/apt-key.gpg | sudo apt-key add -
 cat <<EOF | sudo tee /etc/apt/sources.list.d/kubernetes.list
 deb https://apt.kubernetes.io/ kubernetes-xenial main
 EOF
Enable bridged traffic to pass through iptables
sudo sysctl net.bridge.bridge-nf-call-iptables=1Now update the package list and Install Kubeadm, Kubectl and Kubelet with v1.20.0-00
 sudo apt-get update
 sudo apt install kubeadm=1.20.0-00 kubectl=1.20.0-00 kubelet=1.20.0-00 -y
Before initializing K8s cluster disable Swap Memory permanently
 sudo swapoff -a
 #to disable permanently use
 sudo sed -i '/ swap / s/^\(.*\)$/#\1/g' /etc/fstab
Now initialize the Kubernetes cluster with Kubeadm
sudo kubeadm initSet KUBECONFIG environment variable
 export KUBECONFIG=/etc/kubernetes/admin.conf
 #to set it permanently use
 echo 'export KUBECONFIG=/etc/kubernetes/admin.conf' >> .profile
 source ~/.profile
Deploy the Weave network plugin
sudo kubectl apply -f https://github.com/weaveworks/weave/releases/download/v2.8.1/weave-daemonset-k8s.yaml
Now you can use kubectl get po -A command to check status of running pods in all namespaces. Wait till all pod's status is Running.
Set Up Worker Node:-
We have to follow the same steps from 1 to 7 as per Master node.
Perform pre-flight checks to ensure the worker node is ready to join the cluster
sudo kubeadm reset pre-flight checks
Joining Worker Node to the Cluster:-
To join the worker node to the cluster we have to use kubeadm join command with specific token
To list the tokens available use
kubeadm token list
If you forgot to copy kubeadm join command after initializing kubeadm on master, use following command o Master node to create new token and print join command
kubeadm token create --print-join-command
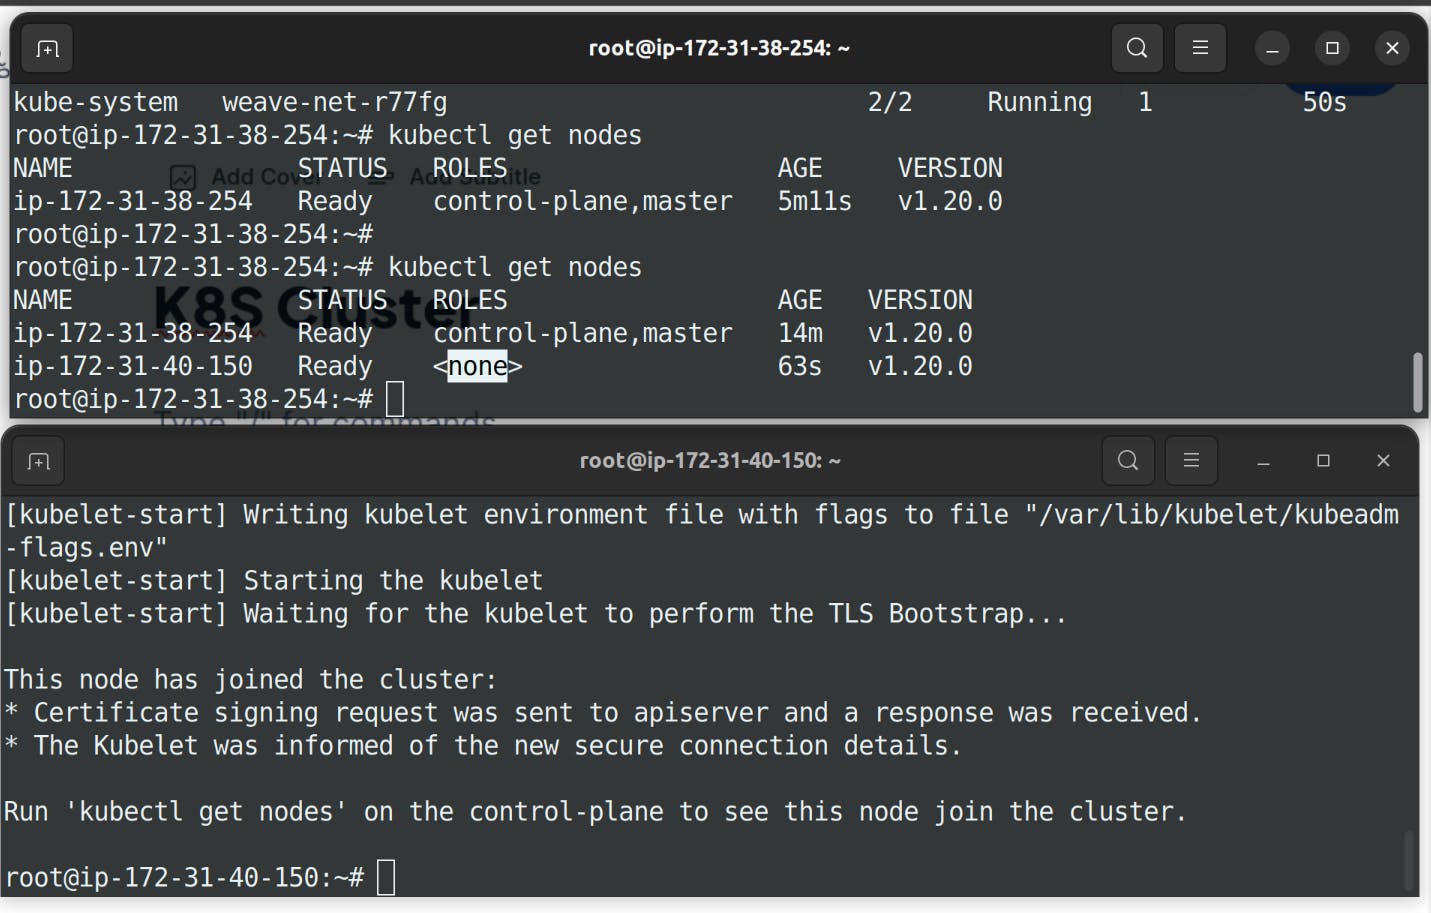
Copy the output from above command and use the same to join cluster on Worker node.
To get nodes details run below command on Master node
kubectl get nodes

This is how you can setup Kubernetes cluster.
Thank you so much for taking the time to read till the end! Hope you found this blog informative.
Feel free to explore more of my content, and don't hesitate to reach out if need any assistance from me or in case of you have any questions.
Find me on:- HashnodeLinkedInGithub
Happy Learning!
